Painting Tips That Make Your Next Room Project Easier
Painting Tips often make the difference between patchy walls and a smooth, even finish. With the right preparation, tools and technique, you can refresh any room confidently. These steps are built for Busselton DIYers who want a cleaner, faster and more professional result.
Firstly, let’s help you understand the Painting Tips Lingo
Cut in: brushing edges before rolling.
Lay off: finishing strokes that smooth the final surface.
Nap: the thickness of the roller sleeve.
Primer or undercoat: helps paint stick and improves colour coverage.
Low sheen: a soft, low reflection finish suited to most walls.

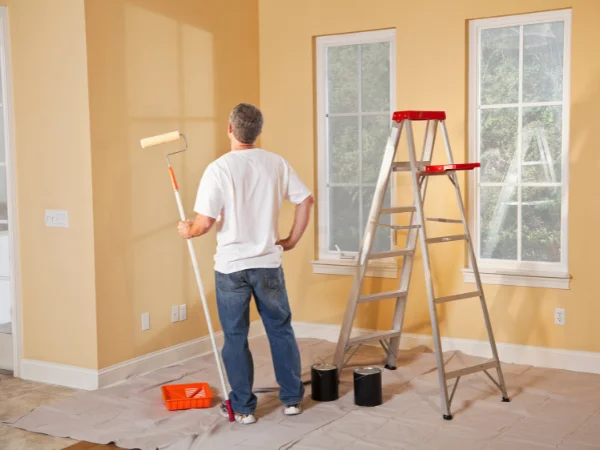
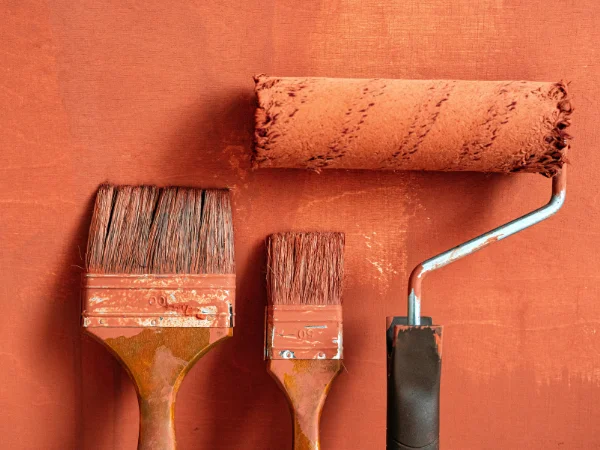
What tools do you need for a simple room refresh?
Essential painting tools including roller tray, brushes, tape and gloves needed for a simple room refresh. All available from Geographe Timber & Hardware.
Before you start, gather the basics. Good tools matter because they affect coverage, finish, speed and clean up.
Essentials
- Paint (water based for walls and ceilings, enamel for trims and doors)
- Angled cutting in brush
- General purpose paint brush
- Roller frame and roller sleeves (12 mm nap for walls, 10 mm for smoother surfaces)
- Paint tray or bucket
- Canvas drop sheets
- Painter’s tape
- Undercoat (see below to know when you need this)
- Sandpaper and sanding block
- Gap filler
- Paint stirrer
- Sugar soap
- Ladder
These form the core kit for most interior painting.
Note: Accessories are available at Geographe Timber & Hardware, however we do not sell large cans of interior or exterior paint due to space.
Painting Tip: When do I need to undercoat?
Undercoat or primer is not always required, but using it in the right situations makes a big difference to how well your top coat sticks and how smooth the final finish looks.
You need undercoat or primer when:
- You are painting over a dark or bold colour
- The surface is glossy or enamel coated
- There are patched areas, filler or repairs
- You are painting new plasterboard or bare timber
- The old paint is uneven or stained
- You want the new colour to look brighter and more consistent
A primer and undercoat helps the top coat grip better and prevents patchiness.
You do not need undercoat when:
- The existing paint is sound, clean and lightly sanded
- You are repainting with a similar colour
- The wall has no stains, repairs or glossy sections
In these situations, two good top coats are usually enough.
Our Painting Tips to help you on your next project
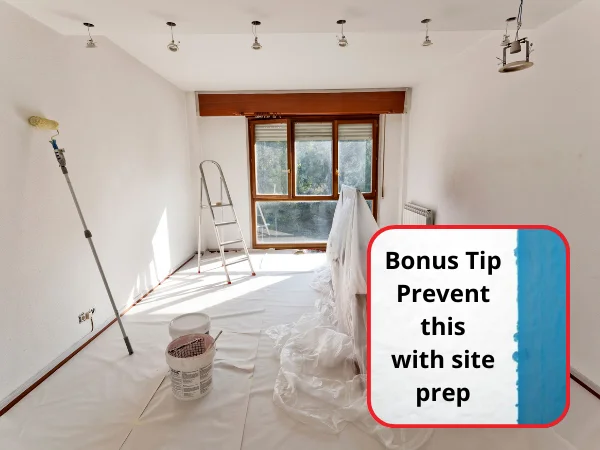
Preparation changes everything
Preparation is the step people rush, yet it determines the overall finish. Clean, patched and primed walls hold paint better and produce a more even coat.
Key steps
- Clean walls with sugar soap to remove dust and grease
- Patch cracks and holes, then sand smooth
- Mask trims, ceilings and switches with painter’s tape
- Lay drop sheets to protect floors
- Apply an undercoat to help the paint sit evenly
Bonus Pro Painting Tip:
For coloured feature walls or masking, paint over the painter’s tape edge with the base wall colour first. If your walls are white and your feature wall is blue, paint white over the tape, let it dry, then apply the blue. This prevents bleeding and creates a crisp line. This also works beautifully for striped feature walls.
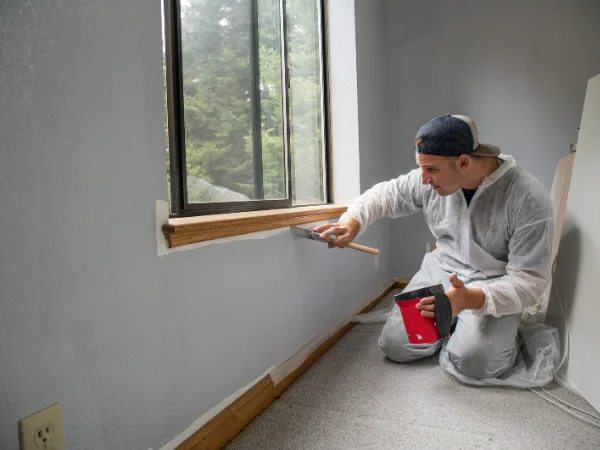
How to cut in
Demonstration of how to cut in by brushing clean paint lines around a window frame.
Cutting in is the brushwork around edges, corners and fittings. It creates the crisp outlines that rolling alone cannot achieve.
Technique
- Use a high quality angled brush
- Dip the brush halfway and tap off excess
- Hold the brush at a slight angle
- Work slowly along corners, edges, windows and door frames
- Roll into the wet cut in area for seamless blending
Bonus Pro Painting Tip:
Do not cut in the whole room first. Cut in and roll wall by wall to avoid uneven coverage. We recommend bribing someone to help so one person cuts in while the other follows behind and rolls. A BBQ lunch and a few beverages usually do the trick.
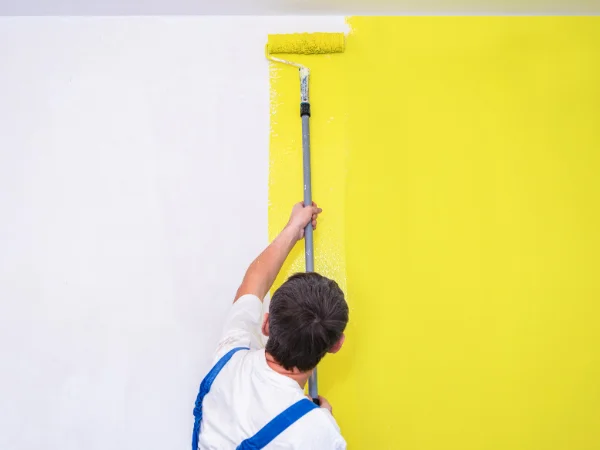
How to roll paint like a professional
Painter rolling paint evenly on a wall using a long handled roller for a professional finish.
Rolling gives you fast, even coverage. A few small adjustments can greatly improve the finish.
Technique that works
- Load the roller evenly in the tray
- Apply paint in a W or M pattern
- Work in small sections
- Overlap your wet edges
- Avoid pressing the roller too hard
- Finish each section with a light downward stroke (lay off)
This reduces roller marks and helps the paint level out.
Keeping tools fresh during your project
Paint brushes and roller kept moist between coats to prevent drying during a project.
Painting sessions often involve pauses. Tools should stay moist so they do not dry out and leave marks.
- Wrap brushes and rollers in plastic during breaks
- For longer breaks, seal rollers in a plastic bag
- Keep lids on tins to avoid drying or skinning
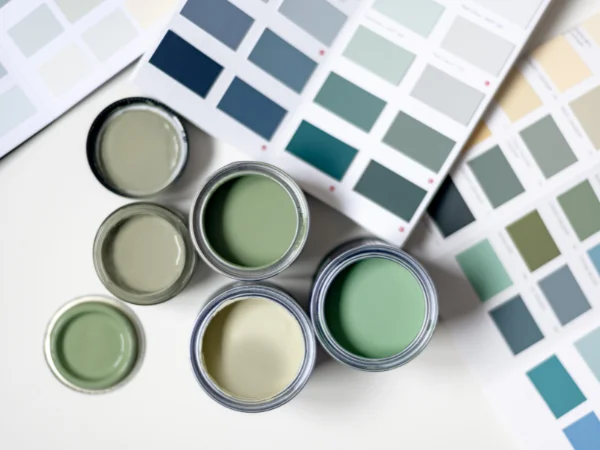
Choosing the right paint
Paint sample pots and swatches used to choose the right colour for an interior paint project.
Paint choice affects durability, sheen and maintenance.
Walls and ceilings
- Water based paint is easiest to work with
- Use flat or low sheen for ceilings (reduces reflections)
- Choose washable options for hallways or kids’ rooms
Doors and trims
- Enamel paint (water or oil based) gives a tougher finish
- Use a smaller brush for cleaner edges
Consider sample pots when testing colours. Check them in morning, midday and evening light.
Drying, recoating and finishing
Good timing prevents peeling and streaks.
- Allow each coat to dry fully before adding the next
- Remove painter’s tape while the paint is slightly wet
- Pull tape at a 45 degree angle for clean lines
- Let the room ventilate well
- Clean brushes and rollers straight after finishing
Visit us for tools, painting accessories and local advice
For more great deals see the current catalogue find us in store at 50 Gale Street, Busselton. Speak to our knowledgeable staff who are always here to help.
Do not take our word for it.